Every time I grab my Windows laptop and head to a café, I brace myself for that familiar tug-of-war. Plugged in, it’s a beast. Unplugged, it’s like the machine suddenly decides to take a nap—everything lags, and I watch the battery percentage drop faster than a stone in water. For years, I bounced between extremes: Battery Saver turned my laptop into a sluggish mess, while High Performance guzzled power like there was no tomorrow.
I knew there had to be a middle ground, and after over a decade of tinkering, I found it. It’s not about picking a preset and crossing your fingers—it’s about diving into the hidden corners of Windows power plans and tweaking them to match real usage. Here’s how I finally struck that perfect balance between responsiveness and battery endurance. Maybe it’ll save you from the same headaches.
The Power Plan Basics Don’t Cut It Anymore
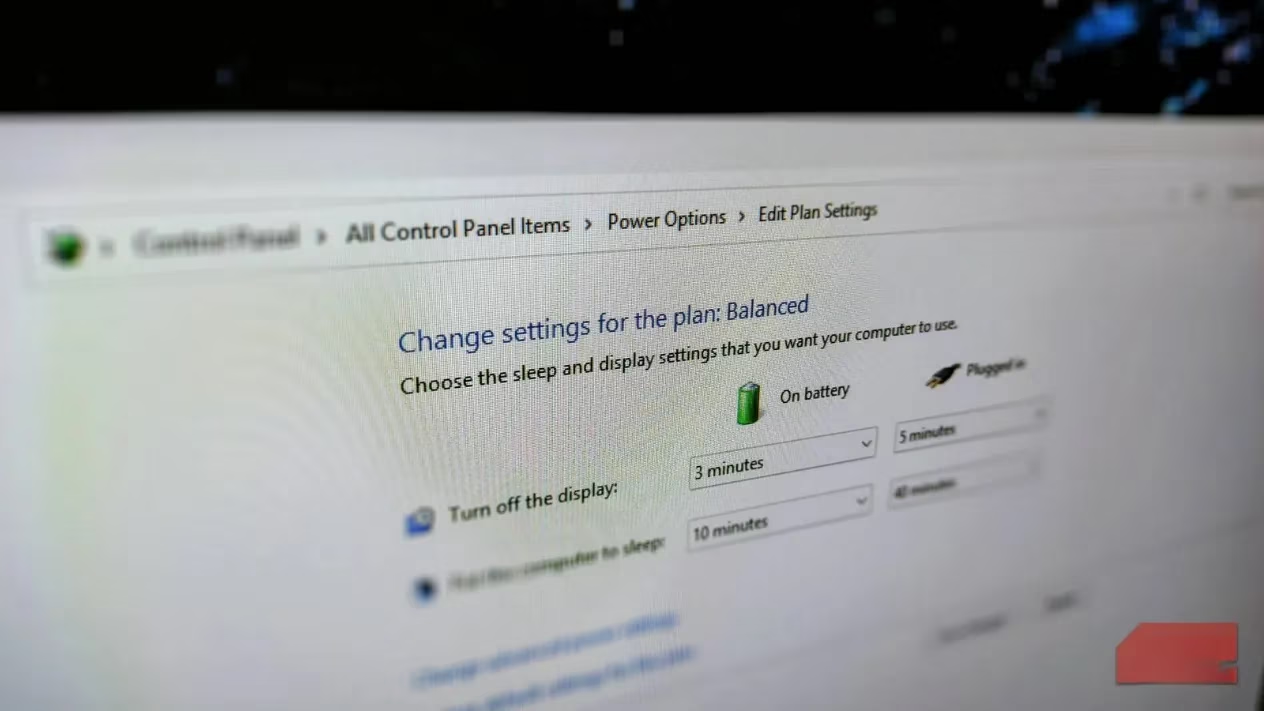
I’ll be honest—when I first looked at the power plans in Windows 11 (and even back in Windows 10), I thought "Balanced" was good enough. But the default settings are a classic case of one-size-fits-none. Under the hood, the Balanced plan throttles the processor to a measly 5% minimum state on battery. Sure, that sounds efficient, but with four browser tabs open it felt like wading through molasses. The Battery Saver plan? Even worse. It’s like telling your laptop to hold its breath—everything slows to a crawl.
To get there, I opened Settings with Win + I, navigated to System > Power & battery, and then into the Power menu. Here you’ll see the three amigos: Balanced, High Performance, and Battery Saver, each with drop-downs for "Plugged in" and "On battery." If they’re grayed out, a quick Win + A to toggle off Energy Saver usually fixes it.
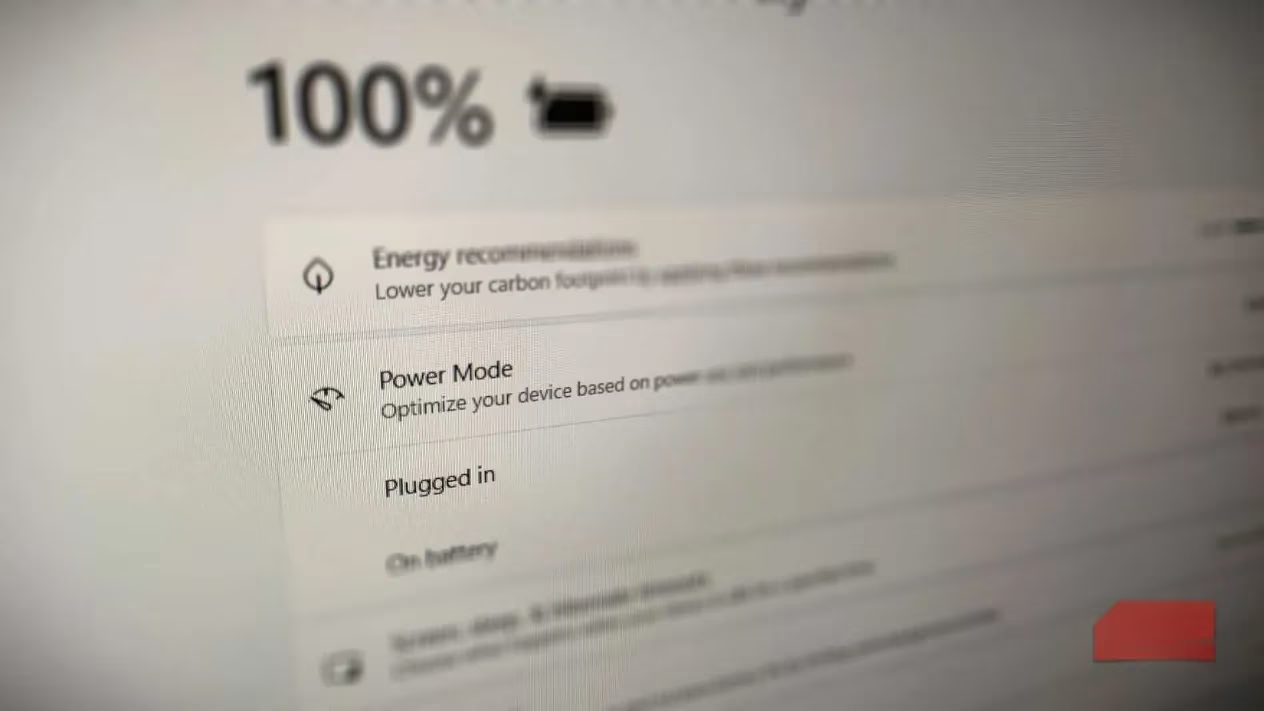
But here’s the thing: these presets haven’t evolved much since 2026, and modern workflows demand more finesse. I wanted my laptop to snap to attention when I typed, but also sip battery when I paused to think. So I went deeper.
Unleashing the True Power of the Control Panel
The real magic lives inside the old-school Control Panel—a place many people forget exists. By searching for it from Start, switching the view to Small icons, and opening Power Options, I could then click Change plan settings next to my active plan, and finally Change advanced power settings. This menu is a treasure chest. You can expand each category and fine-tune behaviors that the modern Settings app doesn’t even mention.
It felt like finding the secret menu at a restaurant. And trust me, these tweaks aren’t just placebo; they tangibly alter how your laptop behaves on battery.
Processor Power Management: Where the Real Magic Happens
I started with Processor power management because the CPU is the heart of both speed and battery drain. Two settings here changed everything for me: Minimum processor state and Maximum processor state.
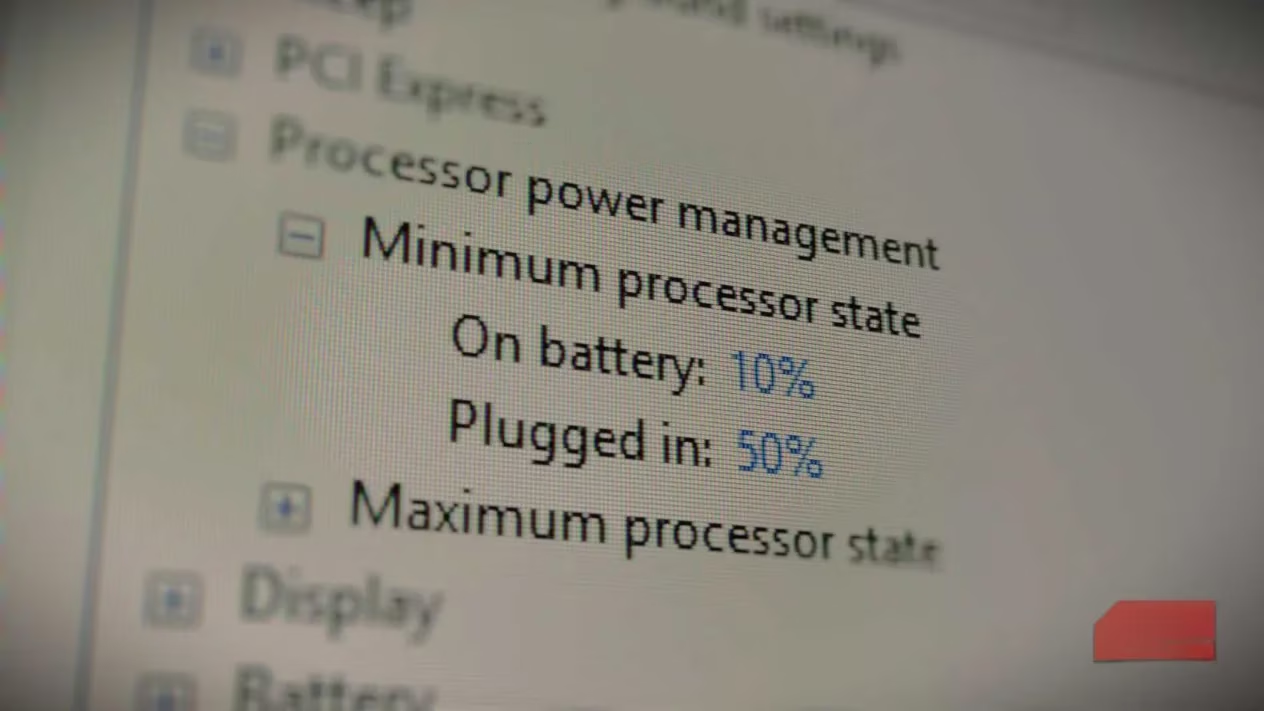
Minimum Processor State
On battery, I bumped the minimum from 5% to 15–20%. That small lift means my laptop stays more responsive during light tasks—like typing in Word or scrolling a webpage—without those annoying micro-stutters. When plugged in, I keep it at 50% because, well, why not? Power is free. It’s a subtle change, but it makes the whole experience feel more fluid, like the laptop is actually awake when I need it.
Maximum Processor State
This is the big one. Keeping maximum state at 100% on battery is like letting your engine redline all the time—it wastes fuel (battery) on infinitesimal speed gains you won’t notice. I set mine to 90–95% on battery. You lose maybe 5–10% of peak burst performance, but gain a huge chunk of runtime. For everyday tasks, the difference is imperceptible, yet the battery meter doesn’t plummet. Plugged in? 100% all day, no restrictions.
I won’t lie, the first time I tried this I was skeptical. But after a week of real-world use, I was a convert. My laptop went from “charge me by 2 PM” to “we’ll see you at dinner.”
Taming the Display: The Silent Battery Hog
If the CPU is the heart, the display is the stomach—always hungry. It can account for up to 40% of total battery consumption. I knew I had to starve it just a bit.
First, I disabled automatic brightness under Settings > System > Display. That feature drives me nuts—it’s forever adjusting for no reason, often making the screen brighter than needed. I manually set brightness to 45–50% indoors. Yes, it feels dim for the first two minutes, but my eyes adapt faster than you’d think, and the battery savings are immediate.
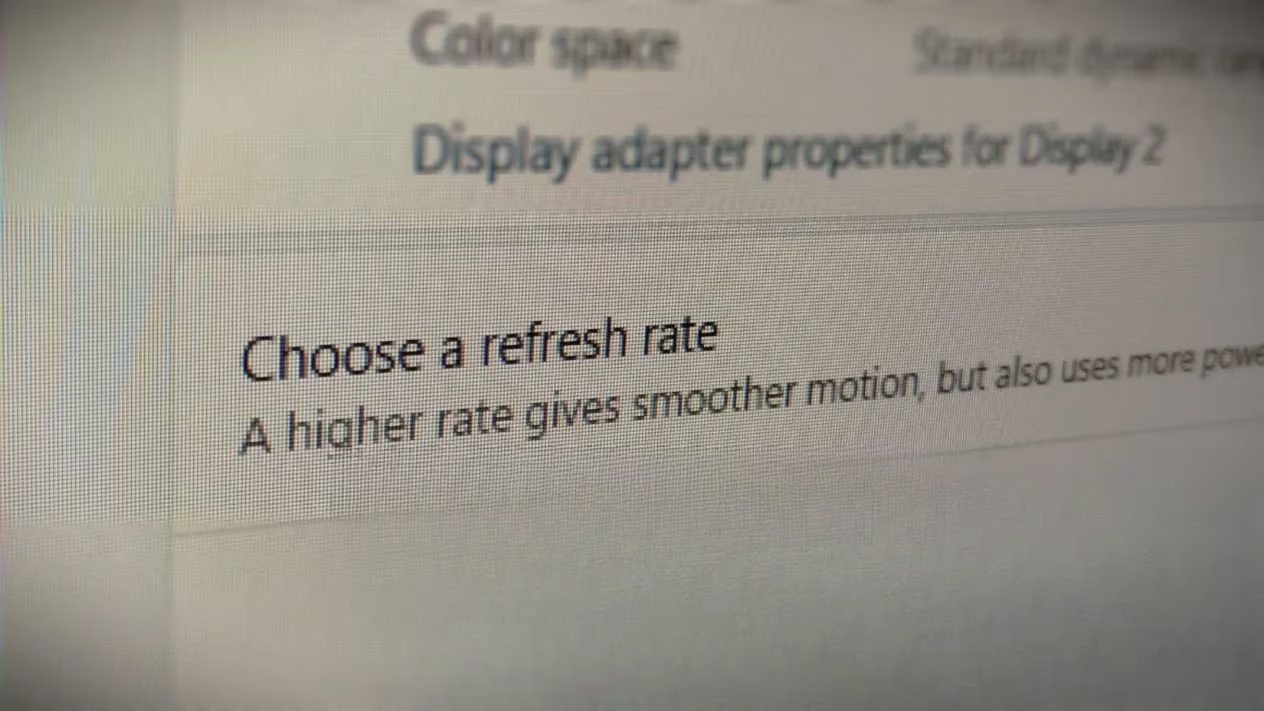
Then came refresh rate. My laptop sports a 120Hz panel that looks buttery smooth, but it’s a power glutton. When on battery, I drop it to 60Hz via Settings > System > Display > Advanced display. The difference in fluidity for office work is minimal, but battery life climbs by 15–20%. If your laptop supports a dynamic refresh rate (48–120Hz), that’s even better—it’ll handle the switching automatically. When plugged back in, I crank it to max again for that premium feel.
Sleep and Hibernate: Aggressive but Effective
I used to ignore sleep settings—assuming 10 minutes was safe enough. But honestly, how often do I walk away from my laptop for exactly 3 minutes? A lot, it turns out. I adjusted sleep and hibernation to kick in after 3–5 minutes on battery in the advanced power plan window (under Sleep). It feels aggressive, but in 2026, waking from sleep takes barely a second. Those extra idle minutes add up to real wasted battery.
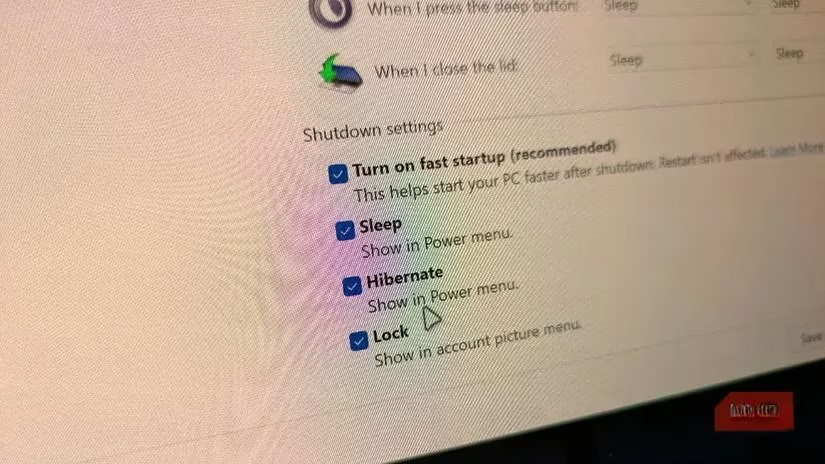
I also leaned into hibernation over shut down. Hibernate saves my session to disk and truly powers off, so I lose no work and avoid the full boot-up drain. It’s like a deep sleep—zero power, instant resume. I’d suggest enabling it if you haven’t already; it’s my secret weapon for ending the day with an extra 5–8% battery.
The Sweet Spot Is Real
After months of tweaking, here’s what my ultimate unplugged configuration looks like:
| Setting | On Battery | Plugged In |
|---|---|---|
| Minimum Processor State | 20% | 50% |
| Maximum Processor State | 90% | 100% |
| Display Brightness | 45% (manual) | Auto (comfortable) |
| Refresh Rate | 60Hz (or dynamic) | Maximum (120/144Hz) |
| Sleep Timer | 4 minutes | 10 minutes |
| Hibernate Timer | 5 minutes | Never |
It’s not the absolute best battery life, nor the absolute maximum performance, but it’s the Goldilocks zone where I never feel like I’m fighting my machine. My laptop stays snappy during note-taking or light coding, and I can easily get through a full workday away from an outlet. And when I plug back in, it roars to full life.
What I love most is that all these changes are reversible and free. Windows still holds so much untapped potential for those willing to look past the glossy Settings app. So, if your laptop feels more like a drama queen than a reliable partner, give these tweaks a spin. You might just find your own sweet spot.
The following analysis references Digital Foundry when thinking about why small Windows power-plan changes can feel huge in day-to-day use: keeping the CPU from hitting its highest boost states on battery (for example, capping max processor state around 90–95%) often reduces heat and fan spikes that trigger further throttling, while dialing back display refresh rate to 60Hz cuts a steady, always-on drain that’s hard to “optimize away” with presets like Balanced or Battery Saver.
Leave a Comment