If you’d told me back in 2020 that assembling my first PC during a global component shortage was the easy part, I would have laughed in your face. Yet here I am, six years later, still learning that Windows occasionally likes to gaslight its users with counterintuitive performance quirks. My current rig is a glorious symphony of high refresh rates and ray tracing, but one thing kept nagging at me: installing a AAA title from Steam on my secondary NVMe felt like waiting for a sloth to run a marathon. I’d stomp around my desk, blaming the internet, the router, the alignment of the planets—until a Discord buddy casually dropped a nugget of wisdom that changed everything. “Have you tried turning off write caching on that drive?”
Cue the sound of a thousand neurons firing all at once.
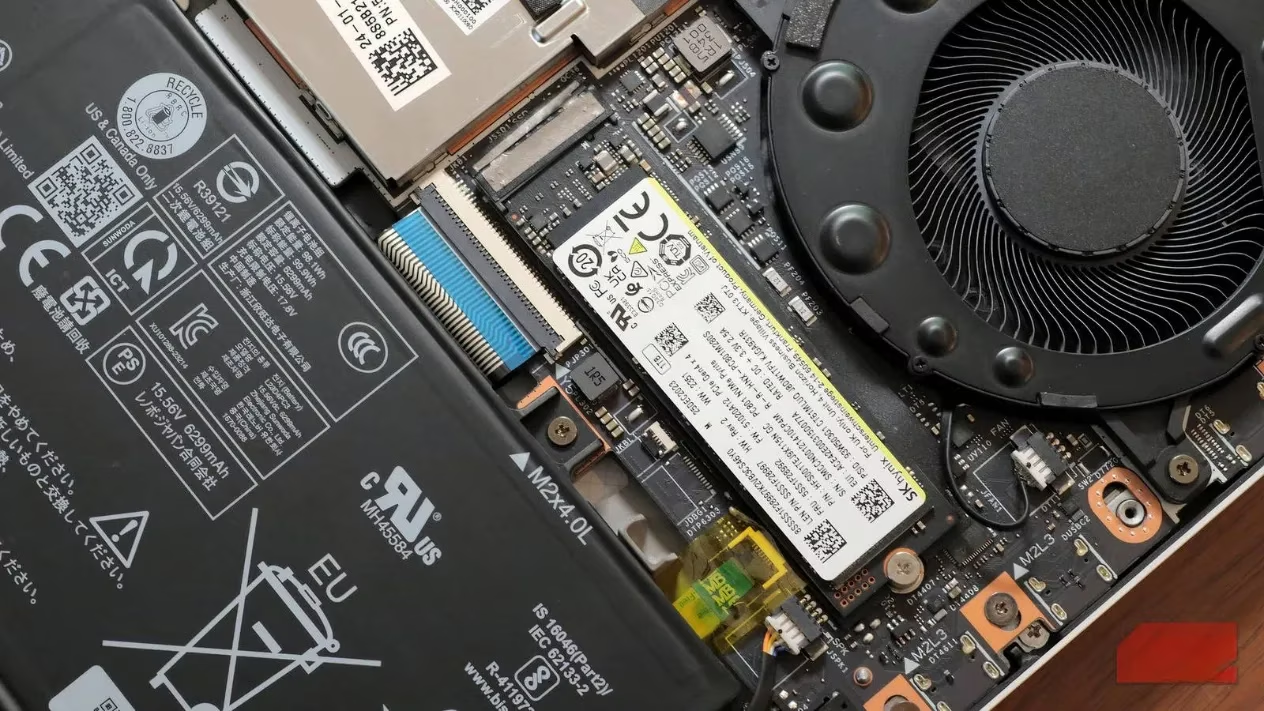
I’ve spent an unhealthy amount of time since my building days chasing marginal FPS gains, overclocking RAM, and undervolting CPUs. But write caching? That felt like a dusty attic setting only meant for old spinning rust hard drives. The idea that a feature designed to speed things up could be handcuffing my blazing-fast NVMe sounded like madness… until I tried it.
The Old-Fashioned Nanny in Your System
Here’s the gist: write caching uses a chunk of your system memory to hold write commands before they’re actually committed to the storage disk. On a traditional HDD, this is a godsend—it lets the slow mechanical drive collect data in bursts. For modern SSDs and NVMes, though, this nanny turns into a micromanaging boss. The drive can handle writes at breakneck speed, but Windows forces it to take data in small, polite little nibbles instead of tearing into a full buffet. My secondary NVMe, a speed demon by nature, was being forced to sip downloads through a tiny straw.
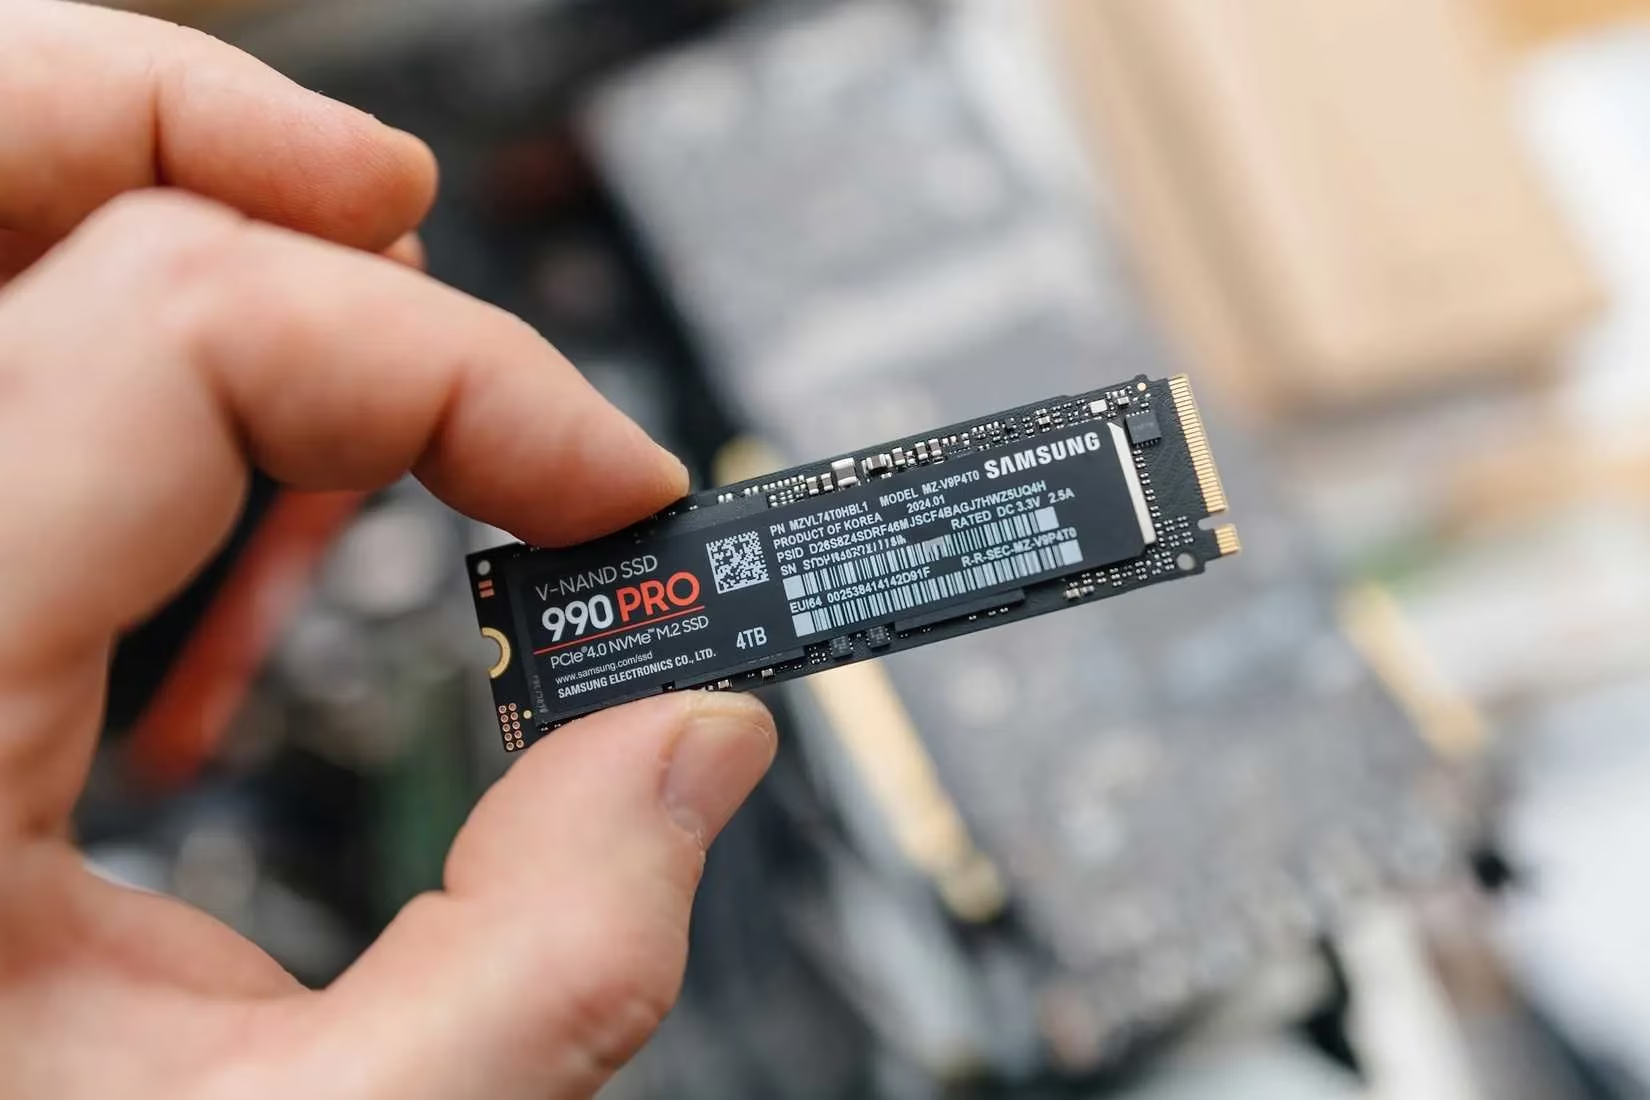
You know that feeling when you’re downloading a 120GB game, and Windows reports “installing” for what feels like three geological eras? That’s write caching in action, chewing on the data in chunks and dramatically slowing the overall process. My NVMe was silently screaming, “Just let me do my job!” while the OS patted it on the head and said, “Soon, little one.”
The Benchmark That Lied to My Face
Before flipping the switch, I did what any self-respecting PC tinkerer would do: I ran CrystalDiskMark to gather cold, hard numbers. With write caching turned on, my sequential read speed clocked in at a respectable 3492.67MB/s and writes at 2398.39MB/s. After disabling it, the results were almost identical—reads at 3507.88MB/s, writes actually dropped a hair to 2386.50MB/s. On paper, the drive seemed slower without caching. I stared at the screen like a confused golden retriever.
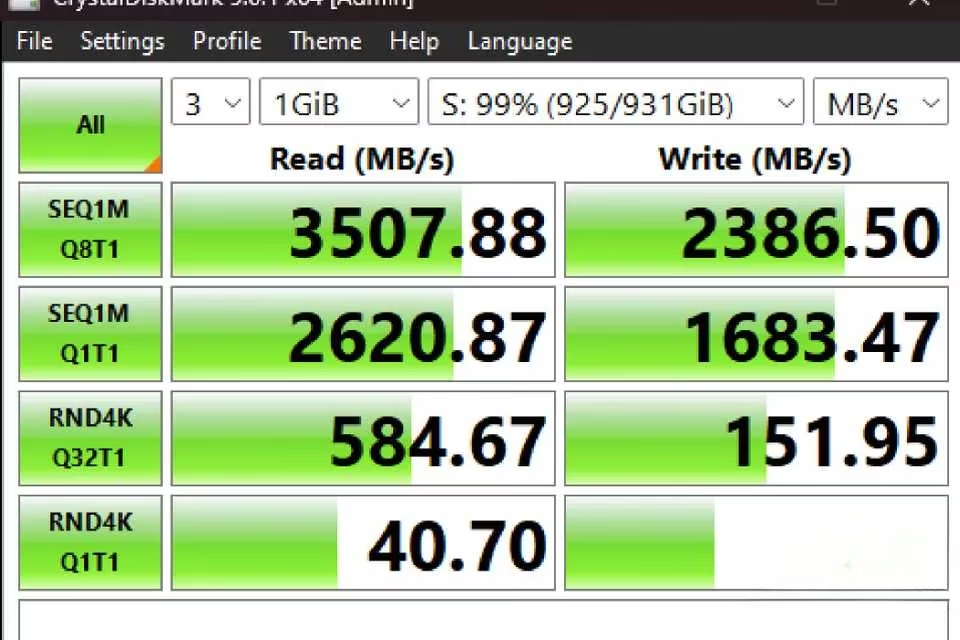
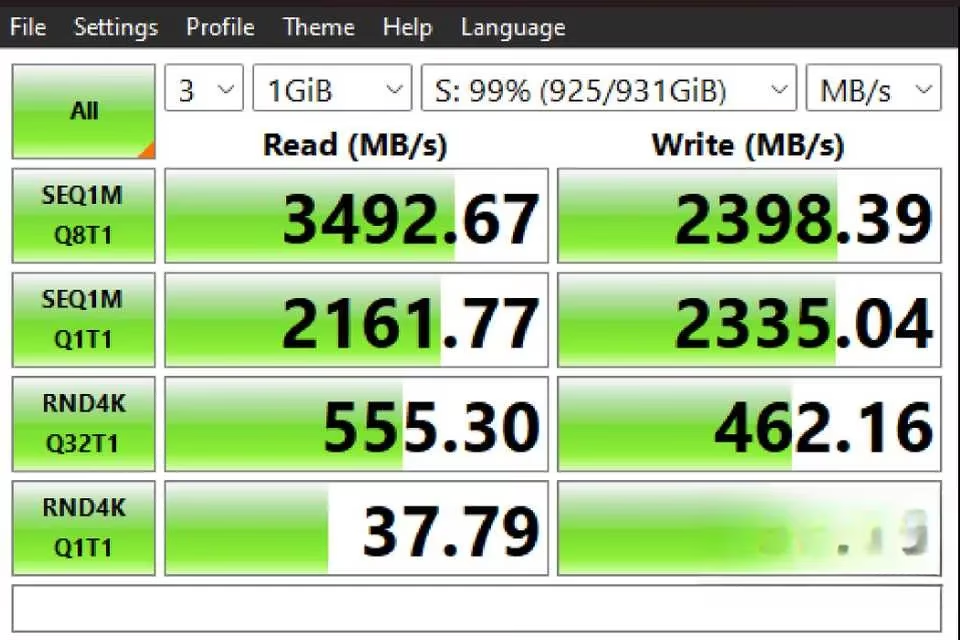
But here’s the beautiful deception: synthetic benchmarks measure raw throughput, not the stop-start tango of real-world game installations. With caching disabled, the NVMe could handle large continuous write operations without taking a breather to cache, uncache, and re-cache every packet. The result? Game libraries that finished installing in minutes instead of making me choose between a fresh pot of coffee or a nap. I confirmed this not through numbers alone, but by queuing up downloads on Steam, Epic, and Game Pass simultaneously—my secondary drive gulped them down like a thirsty marathoner.
The Zero-Risk Experiment (Well, Almost)
My biggest concern was fearmongering: wouldn’t turning off write caching invite data corruption, or accidentally set my desk on fire? After a month of daily use—gaming, video editing, and leaving my PC on overnight—the sky hasn’t fallen. In fact, enabling write caching carries a bigger risk of data loss if your machine loses power mid-write, since data is sitting in volatile RAM. Disabling it just means the drive handles everything directly and immediately.
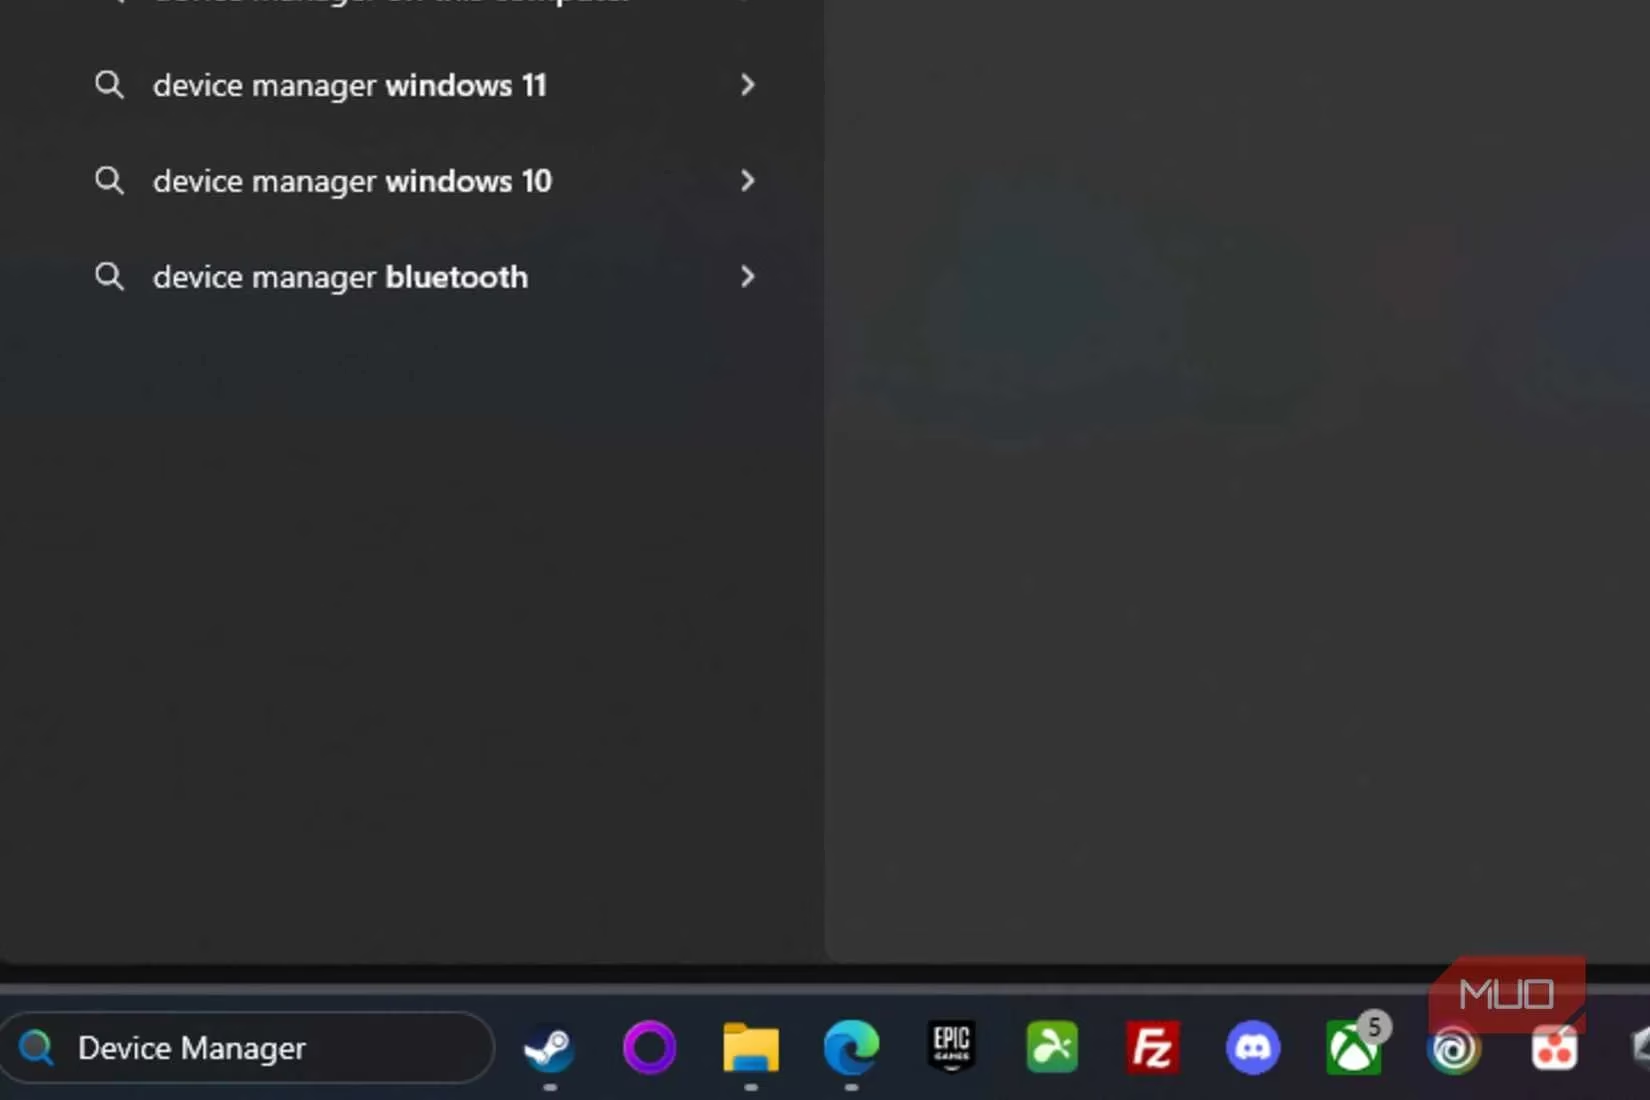
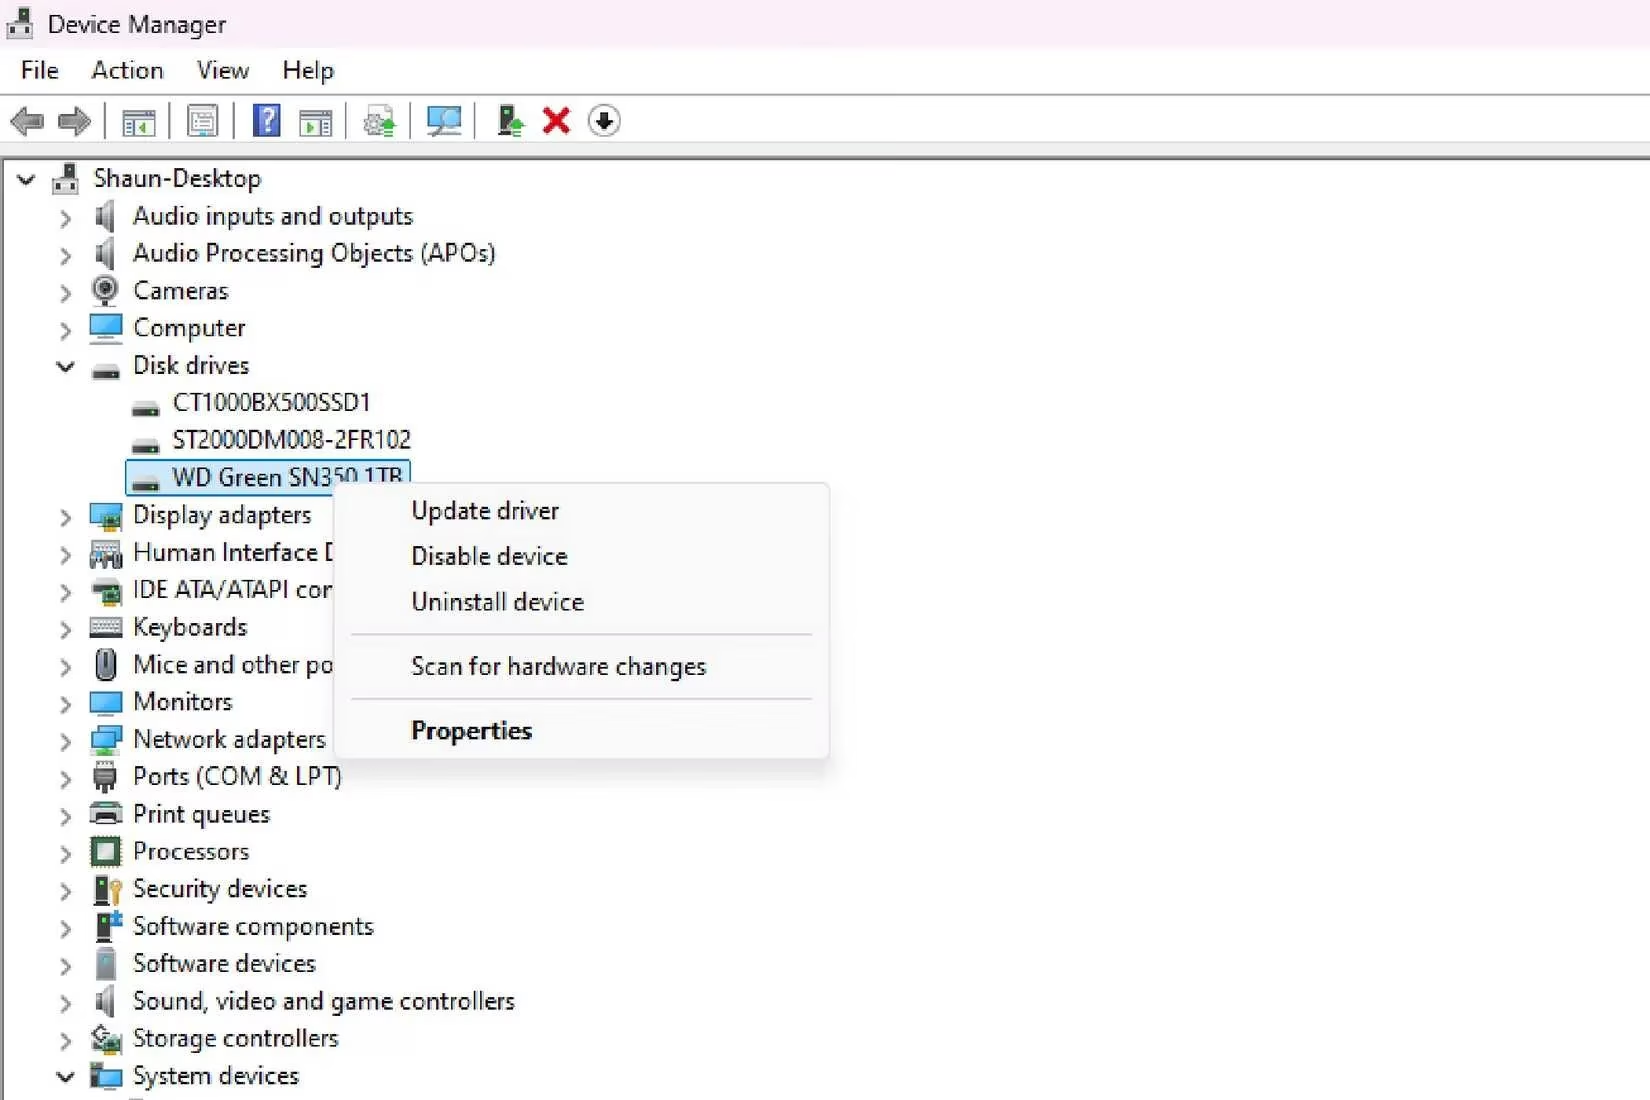
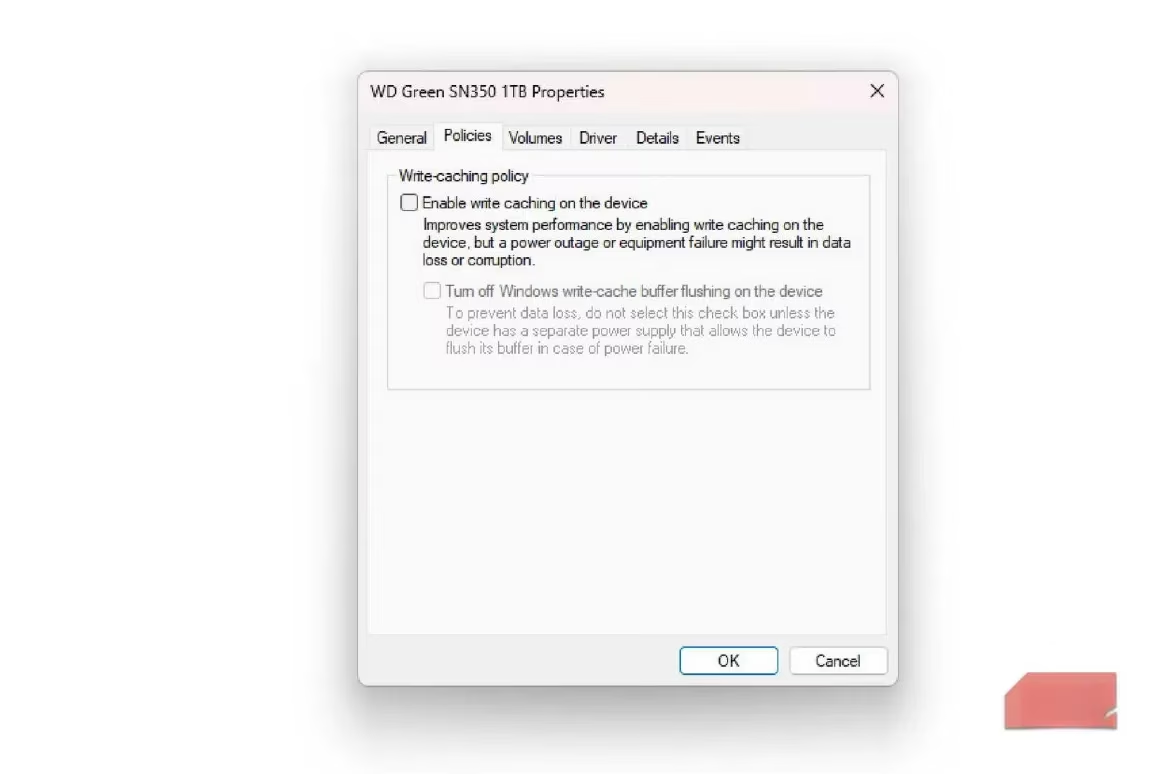
The process itself is buried just deep enough to feel like a hidden cheat code, but it’s really just four clicks. You open Device Manager, find your NVMe under Disk Drives, navigate to Policies, and uncheck “Enable write caching on the device.” Boom. Done. For the cautious souls, you can always toggle it back on after heavy downloading sessions, but honestly, my system hasn’t complained once.

The Sweet, Sweet Payoff
It’s been over a month since I performed this little digital exorcism, and my download life has transformed. I can fire up a massive patch on a Friday night, and by the time I’ve grabbed a snack, I’m in-game—not staring at a progress bar inching forward like a snail on vacation. The NVMe is finally allowed to stretch its legs, and I get to enjoy the fruits of my hardware investment without Windows playing traffic cop.
If you’ve been tolerating sluggish installs on a secondary drive, do yourself a favor and give this tweak a shot. Your games want to be played, not used as a benchmark to test your patience. Disable that nanny setting, and let the storage run wild—it’ll thank you with speed.
As detailed in GamesIndustry.biz, real-world PC gaming performance often hinges on overlooked system-level behavior rather than headline benchmark numbers—and that maps neatly to the “write caching” toggle story here, where synthetic disk tests may look unchanged while the actual install pipeline (downloads, decompression, and sustained writes) can bottleneck in unexpected places. Treating storage tuning as part of the whole delivery chain—OS policies, client installers, CPU load, and drive firmware—can explain why one tiny Windows setting can dramatically change how fast a 100GB game actually becomes playable.
Leave a Comment